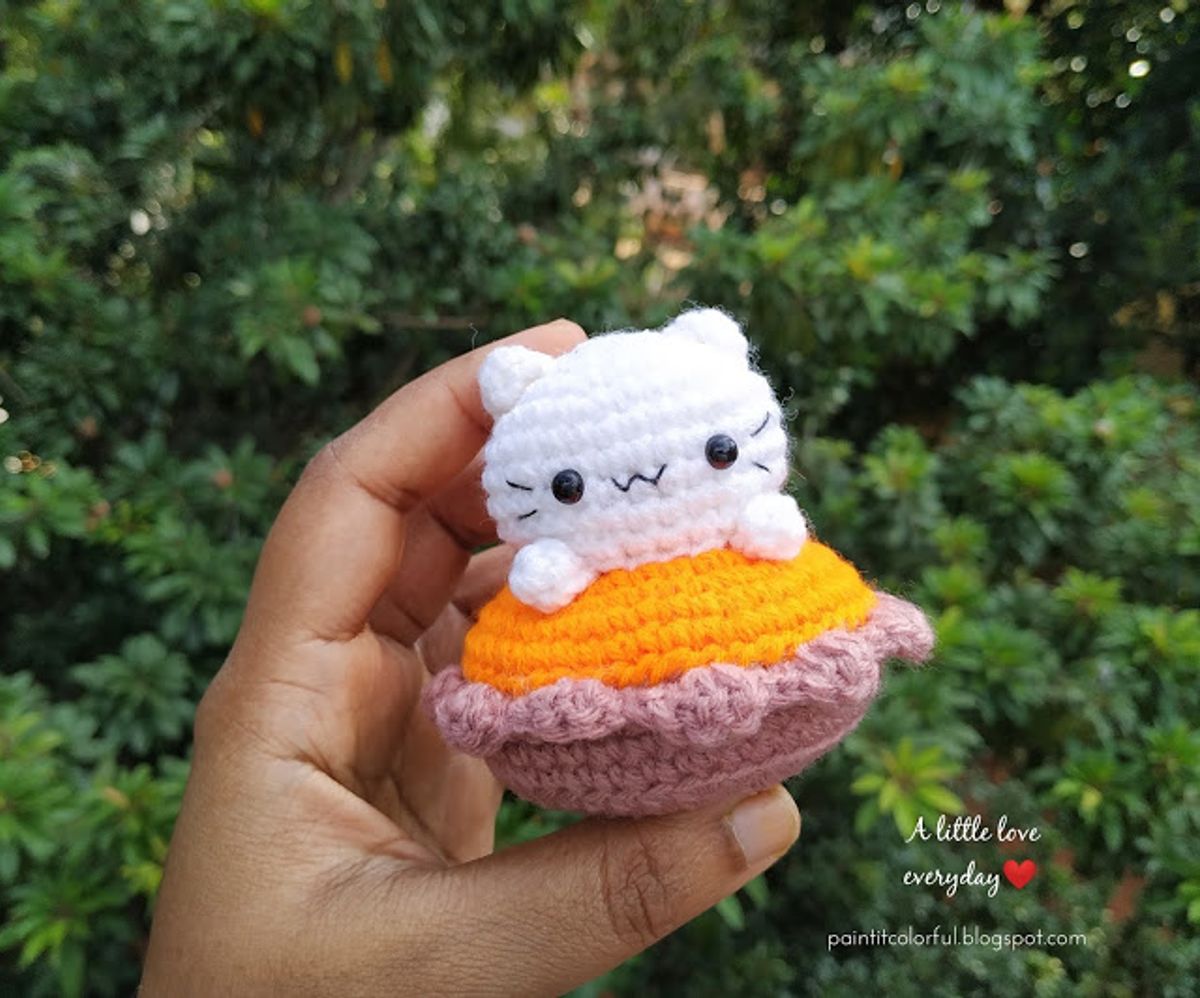
PumKitty Pie Amigurumi Crochet Free Pattern
Design by: Paint it colorful Blog (LINK)
Materials needed:
- Sport weight yarn in orange, brown and white colour.
- 2.5 mm crochet hook.
- Fibrefill for stuffing.
- 5 mm safety eyes.
- Tapestry needle.
- Black embroidery thread.
- A small piece of cardboard (optional).
This pattern is written in US English terms and worked in continuous rounds unless stated otherwise.
Stitches/ Abbrevations :
- R- round/ row.
- Ch - chain.
- St(s) - stitch(es).
- Sc - single crochet.
- Dc - double crochet.
- Inc - increase ( 2sc in one st).
- Dec - decrease ( sc 2 st together).
- Sl st - slip stitch.
- [...] - repeat the instructions given in between the brackets.
- (...) - total number of stitches.
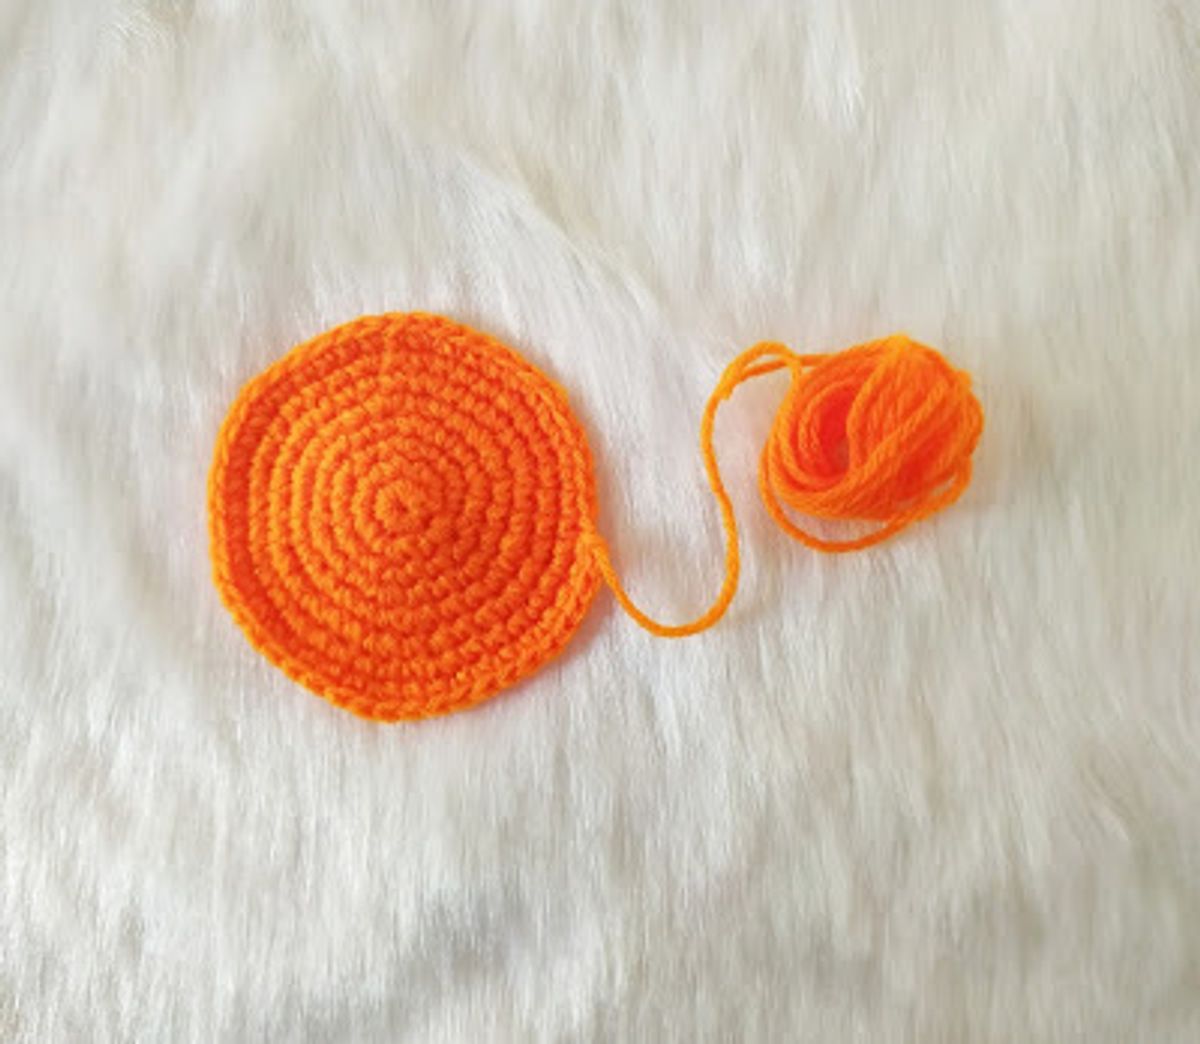
Pie top:
With orange colour yarn,
R1: 6 sc in magic ring (6).
R2: Inc in each st (12).
R3: [ Sc in next st, inc ] x 6 (18).
R4: [ Sc, inc, sc ] x 6 (24).
R5: [ Sc in next 3 st, inc ] x 6 (30).
R6: [ Sc in next 2 st, inc in next, sc in next 2 st ] x6 (36).
R7: [ Sc in next 5 st, inc ] x 6 (42).
R8: [ Sc in next 3 st, inc in next, sc in next 3 st] x 6 (48).
Fasten off leaving a long tail for sewing. Make sure to leave enough tail end as we'll need it to sew this top part to the crust later.
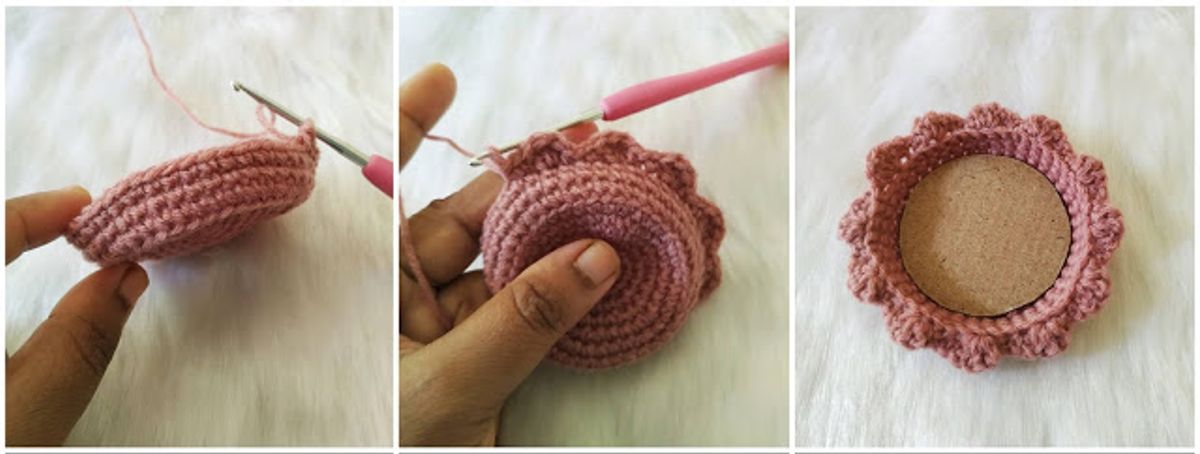
Crust:
With brown colour yarn,
R1: 6 sc in magic ring (6).
R2: Inc in each st (12).
R3: [ Sc in next st, inc ] x 6 (18).
R4: [ Sc, inc, sc ] x6 (24).
R5: [ Sc in next 3 st, inc ] x 6 (30).
R6: [ Sc in next 2 st, inc, sc in next 2 st ] x 6 (36).
R7: [Sc in next 5 st, inc ] x 6 (42).
R8: (Work in back loops only) Sc in each st (42).
R9: Sc in each st (42).
R10: [ Sc in next 3 st, inc, sc in next 3 st ] x 6 (48).
R11: ( Work in front loops only)
[ Sc in next st, 3 dc in next st, sc in next, sl st in next ] x 12.
Fasten off and sew the end.
For a rigid base, cut a small piece of cardboard in circular shape and place it to the bottom of the crust.
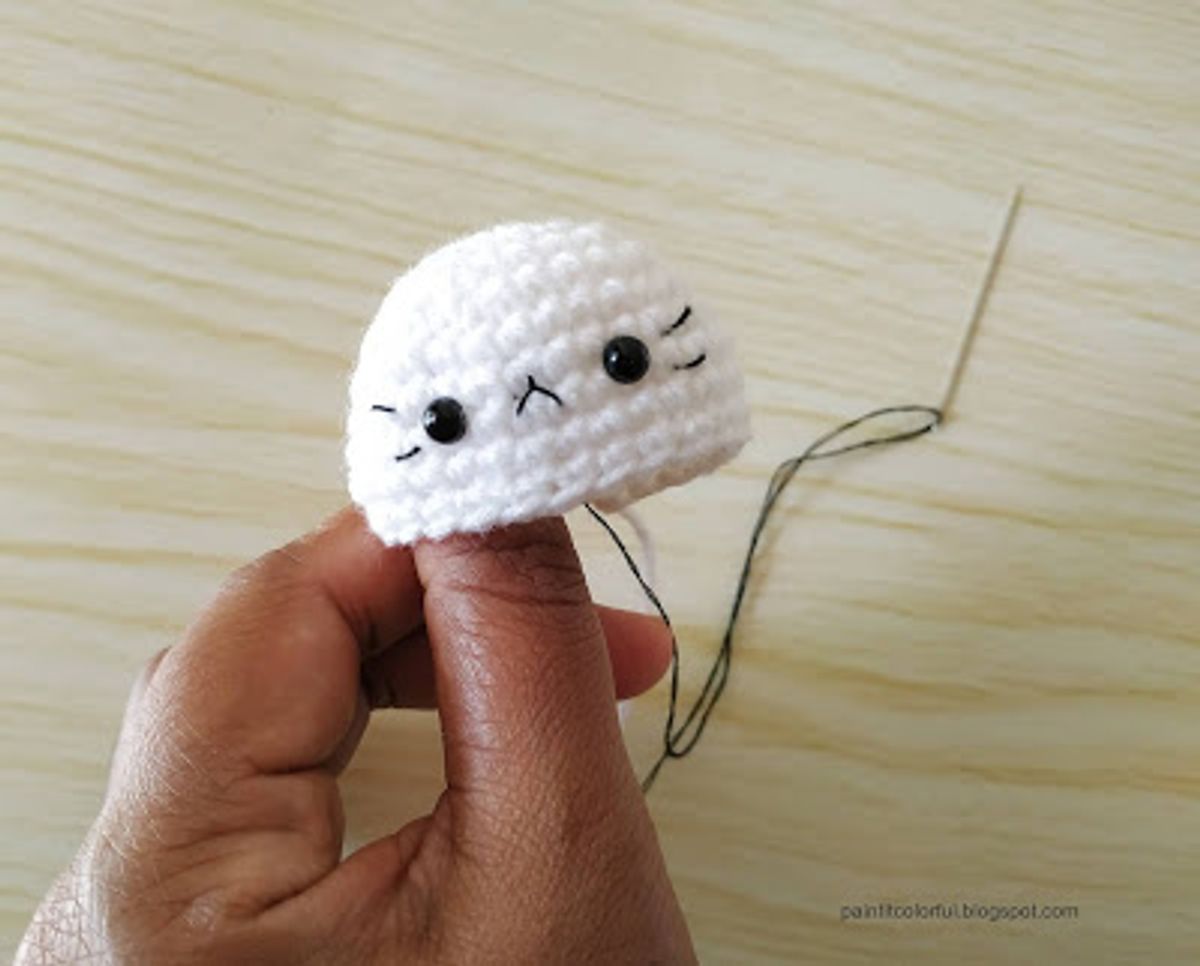
Kitty head:
R1:6 sc in magic ring (6).
R2: Inc in each st (12).
R3: [ Sc in next st, inc ] x 6 (18).
R4: [ Sc in next 2 st, inc ] x 6 (24).
R5: [ Sc in next 3 st, inc ] x 6 (30).
R6-9: Sc in each st (30).
R10: [ Sc in next 3 st, dec ] x 6 (24).
Insert 5 mm safety eyes between R7 and R8 with 5 stitches apart.
Embroider the mouth and add in whiskers using black thread.
Fasten off leaving a long tail for sewing.
Ears (make 2):
With white colour yarn,
R1: 4 sc in magic ring (4).
R2: [ Sc in next st, inc ] x 2 (6).
Fasten off leaving a long tail for sewing.
Arms (make 2):
With white colour yarn,
R1: 6 sc in magic ring (6).
R2: Sc in each st (6).
Fasten off leaving a long tail for sewing.
Assembling:
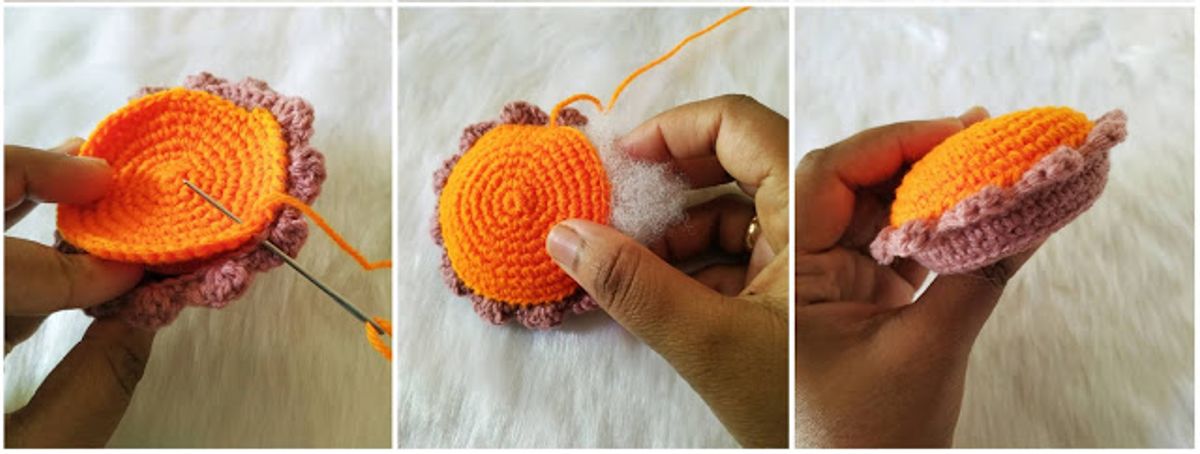
- Sew the pie top (both loops) to the back loops of crust at R11 using a whip stitch. Start stuffing when you are more than halfway done and continue to stuff as you go. Fasten off and sew the end.
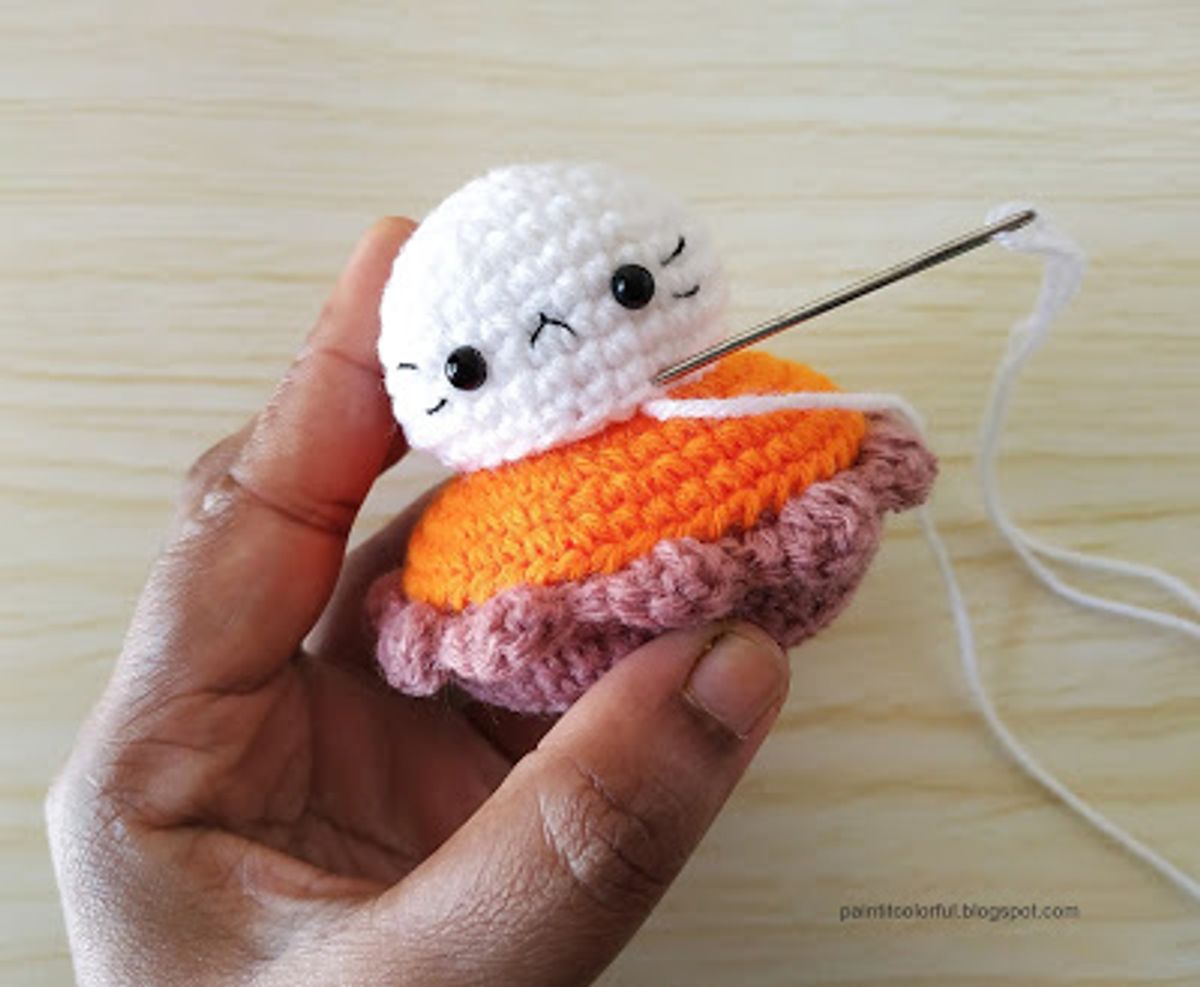
- Stuff the kitty head and attach it to the centre of the pie. Add a little more stuffing before closing if needed.
- Sew the ears around the end of R2 of kitty head on both sides.
- Attach the arms where the kitty head meets the pie.
And your Pumkitty pie is now done!